- Hole 1
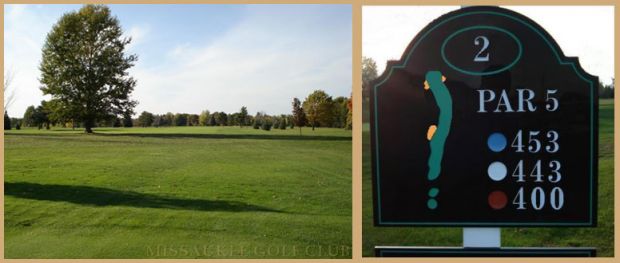
- Hole 2
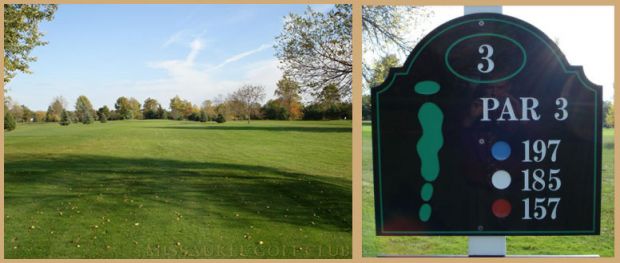
- Hole 3
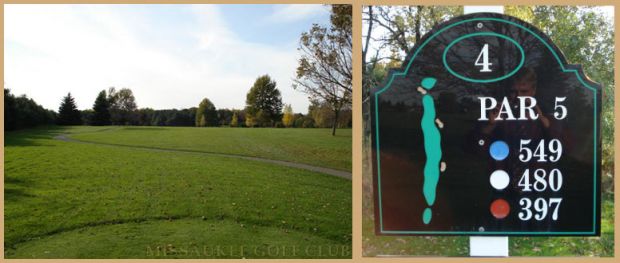
- Hole 4
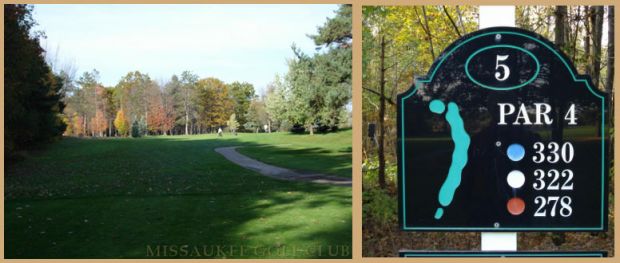
- Hole 5
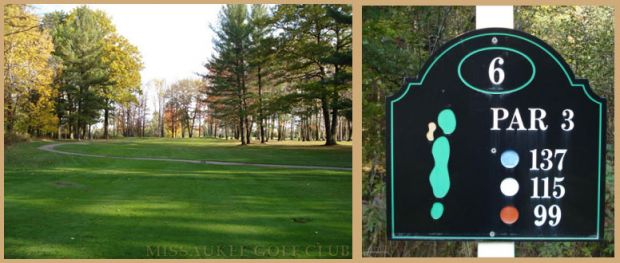
- Hole 6
- Hole 7
- Hole 8
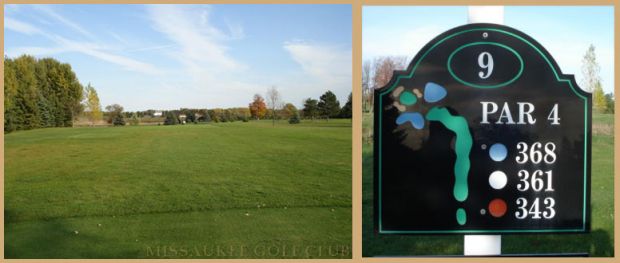
- Hole 9
- Hole 10
- Hole 11
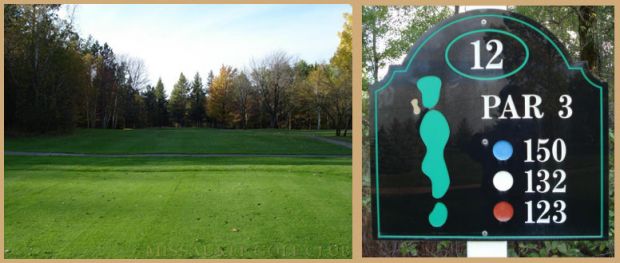
- Hole 12
- Hole 13
- Hole 14
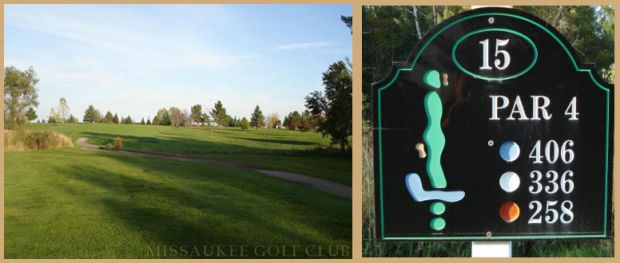
- Hole 15
- Hole 16
- Hole 17
- Hole 18
Be sure to take plenty of club off the tee. The right side of this fairway allows more
access to this par 4 green.

Hit it left off the tee and you could find yourself in the guarded fairway bunker. Bunkers
also surround this green, so key to this hole is to get on the green in at least 3.
Long par 3. Short is not a bad miss on this hole.
One of the tougher tee shots on the course for this long par 5. Fairway bunkers up the
right. And trees along the left. Pick your battle wisely.
This short dogleg left demands a precise and accurate tee shot off the tee. Don’t let the
distance on this hole fool you.
Short and sweet. A good tee shot will reward you with a good look at birdie.
A narrow tee shot will open up to a generous fairway. Again, a guarded green by
bunkers will be your ultimate test here.

This dogleg left is guarded by trees and a pond along the entire left side. Right center of
the fairway is your friend on this par 4.

Our signature hole. Try to cut the corner to get down the hill. Or play it safe by hitting it
straight off the tee. An accurate tee shot will be key here to give you a good look at your next
downhill shot into the green.
Start the back 9 with this beautiful, hefty, downhill par 3. Hit it short and it could end up
in the creek.

A tee shot up the left side will be sure to keep you out of harms way. Hit it right, and
you may be punching back out into play.

In between clubs? Club down on this one. Short is better than long on this par 3.
Trees and a large fairway bunker up the left side of this Par 5. A tee shot along the
right side will set you up nicely for this hole.

Water about 200-240 out depending on the tees. Stay short of the water and rely on a
good 2nd shot for this short par 4.

Straight away here. Just try to find the fairway and your 2nd shot into the green will
play slightly uphill.
This dogleg right requires a tee shot up the middle or slightly left. Land your second
shot short of the green to let it hop forward and on.

A tee shot up the left side will help take the greenside bunker out of play. A 2nd shot
over the green will penalize going down the stretch.

Bunkers come into play along the right and left side of the fairway. A fairway finder off
the tee will be your best bet in hitting the green on this par 4 finishing hole.